Retaining walls are a functional and aesthetic solution for sloped landscapes, offering stability, erosion control, and creating usable space. At Whitetail Residential Services, we recently had the pleasure of helping a client achieve their vision of a safer and more functional backyard in Harrisburg North Carolina with a Premier 8 foot Retaining Wall.
Harrisburg, NC Retaining Wall Project
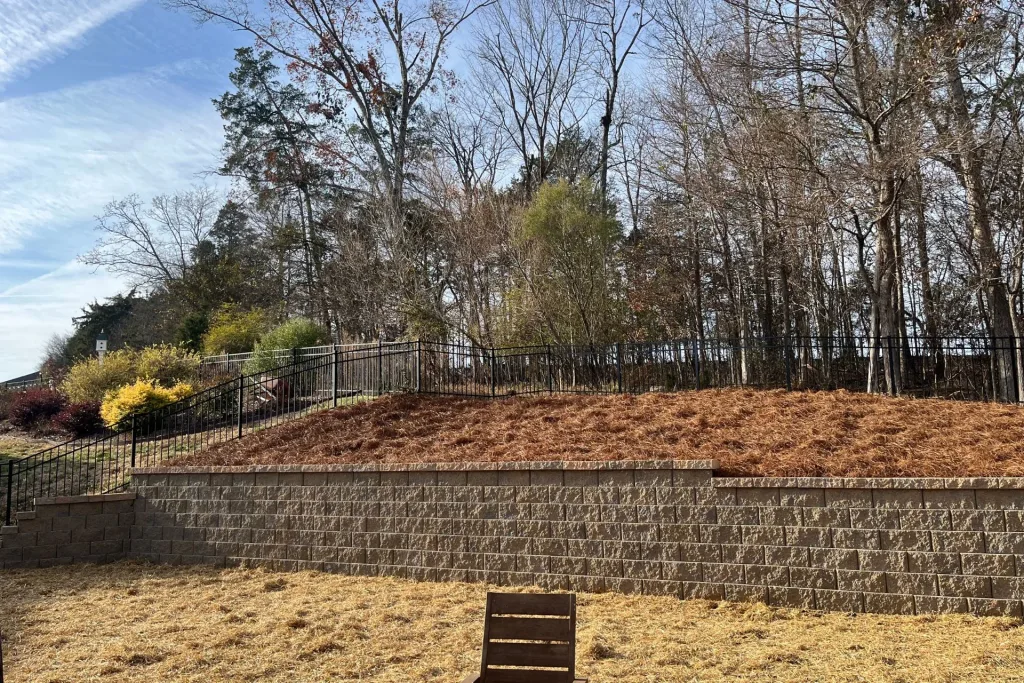
Our client’s backyard featured a steep dirt slope, which limited their children’s play area. They wanted to reclaim an additional 10-15 feet of flat space for their kids to enjoy. We designed and constructed a retaining wall that started at 5 feet and tapered down to 4 feet, providing both functionality and visual appeal. Additionally, the client requested a slight curve in the wall to better integrate with the natural flow of the landscape. To achieve this, we carefully cut small angles on the blocks to create the desired curvature.
Materials Needed
- 57 Stone (Gravel): Used for the base and backfill.
- Wall Blocks (8″ high): The primary building material for the wall.
- Fine Aggregate: Used for leveling the first layer of blocks, if needed.
- 4″ Perforated Corrugated Pipe (wrapped in fabric): For the drainage system.
- Geogrid: For reinforcing the aggregate and increasing wall stability.
- Wall Cap: For the top of the wall.
- Adhesive: To glue the wall cap to the top block.
- Topsoil: For the final layer on top of the wall.
- Seed and Straw (or Pine Straw or Decorative Rock): For the final surface layer, as per client preference.
Retaining Wall Installation Process
With the design finalized to address our client’s specific needs—a curved, tiered retaining wall to expand their children’s play area—the next phase was the actual installation. This process, while tailored to each project’s unique requirements, follows a fundamental sequence of steps. To provide a clear understanding of how we transformed this challenging slope into a functional and aesthetically pleasing feature, we’ll walk you through the core stages of retaining wall construction, from excavation and base preparation to block laying and backfilling. While this particular project involved a curved design and tapered height, the underlying principles remain consistent for most retaining wall installations, ensuring stability and longevity.
Design and Planning
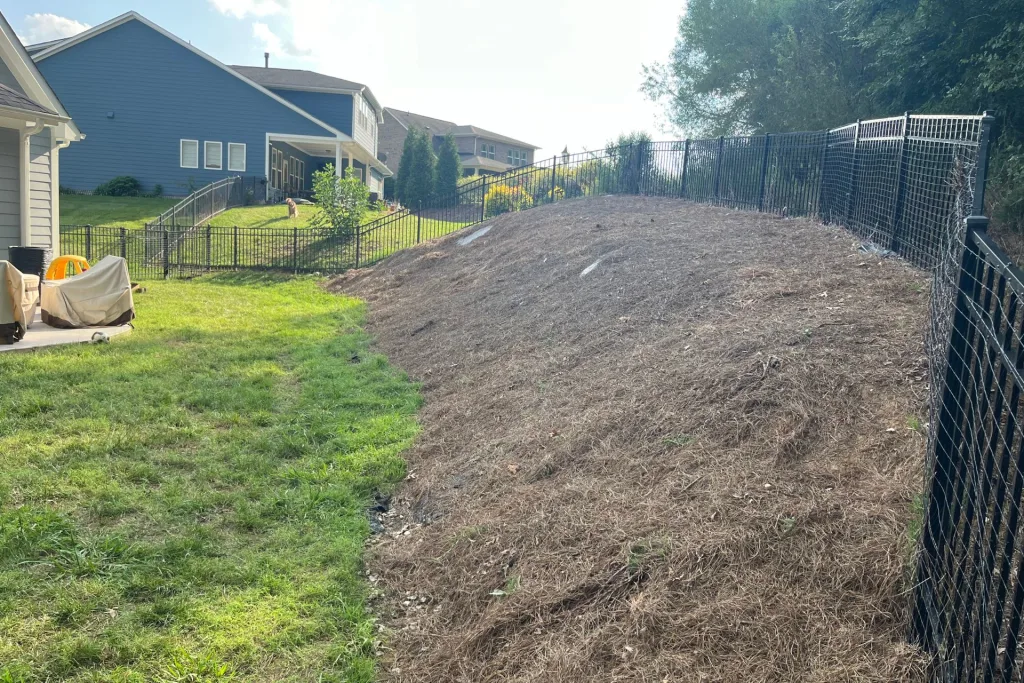
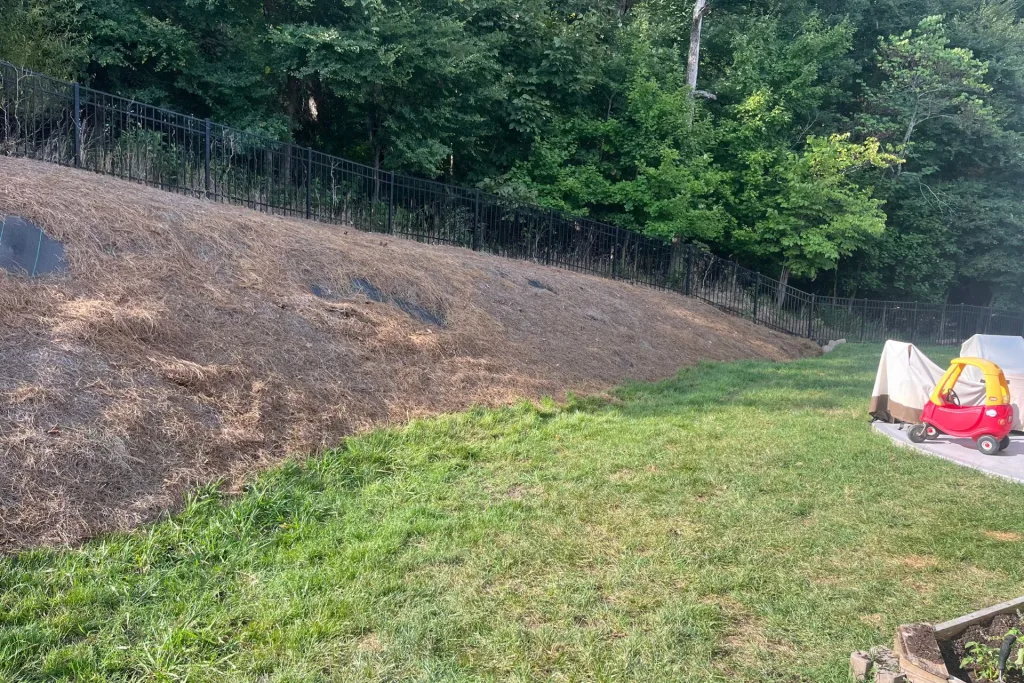


The first step involved determining the height, length, and curve of the wall. We carefully planned the layout to meet the client’s needs and enhance the overall appearance of the yard.
Digging the Footer
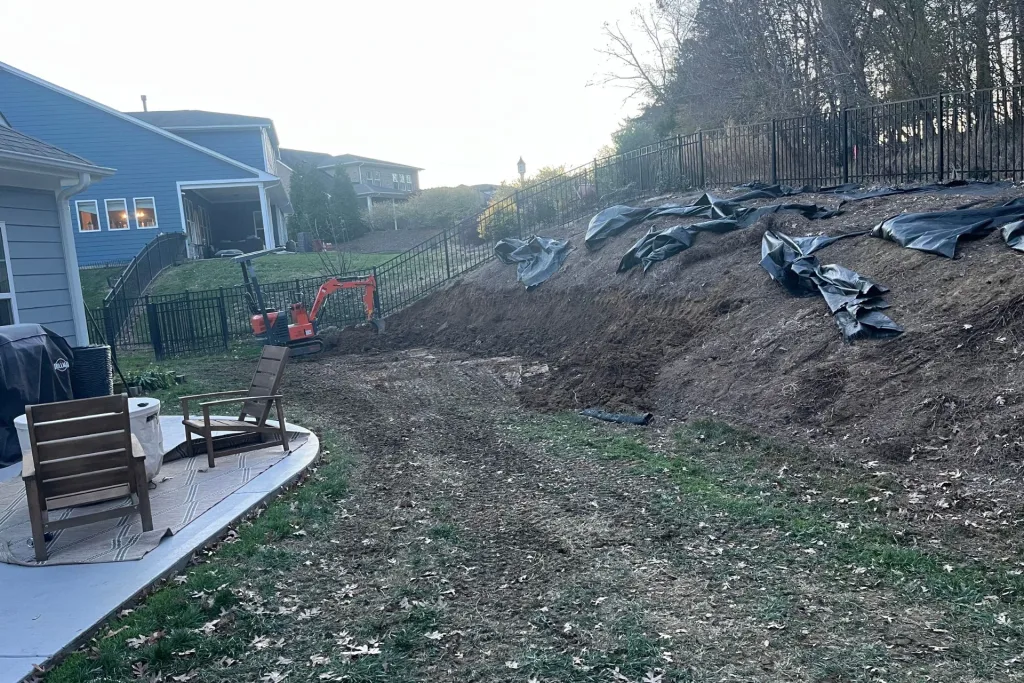
We excavated a trench for the wall’s foundation, ensuring it was 14 inches deep to accommodate both the 6-inch gravel base and the first row of blocks, which would be partially buried to ensure stability. The trench was made wide enough to allow space for drainage pipes, backfill stone, and the block lip to overhang by about an inch.
Creating the Base
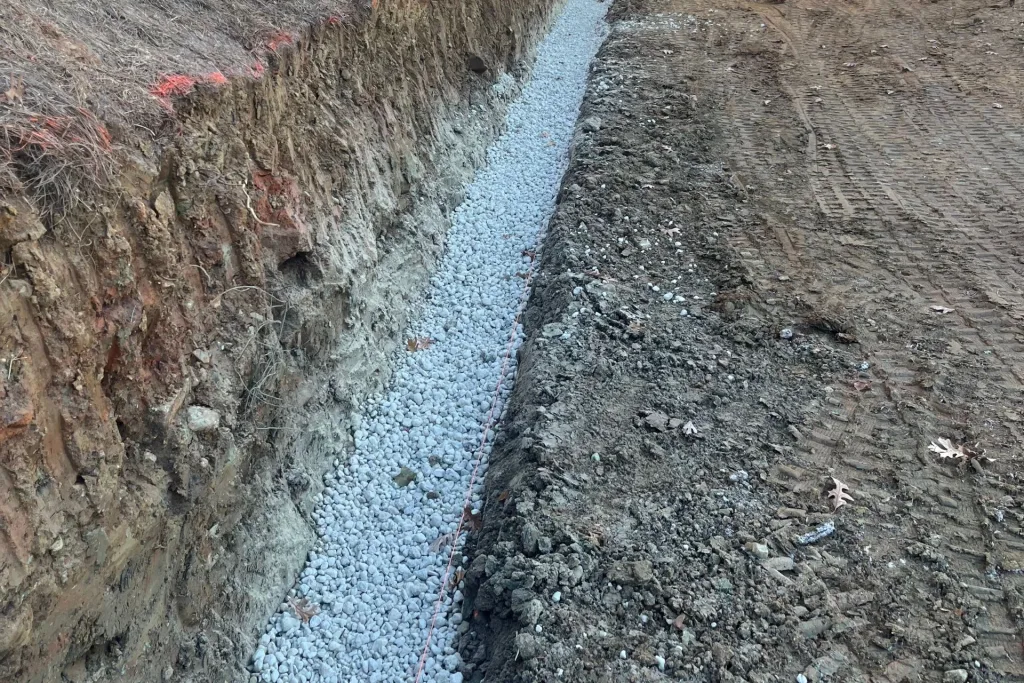
We added a 6-inch layer of compacted 57 stone as the foundation. This step is critical for maintaining the wall’s stability and ensuring that all subsequent layers are level. Precision was key—a level base ensures a level wall.
Placing the First Row
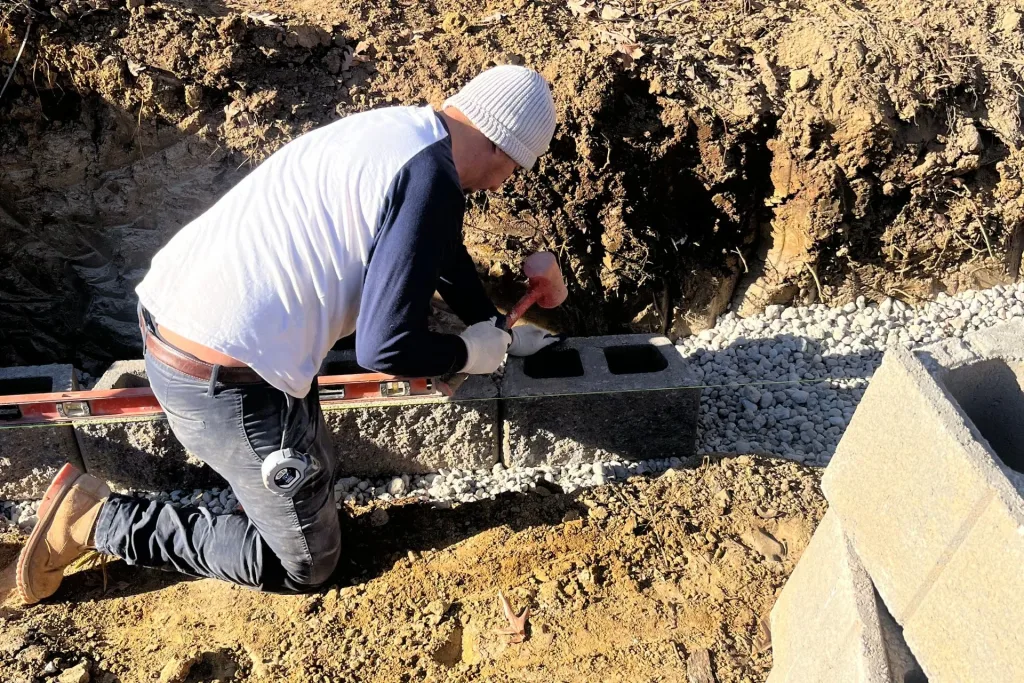
The first row of blocks was meticulously positioned on the gravel base. We used a rubber hammer, string line, and level to ensure each block was perfectly aligned. This step took the most time but was essential for the wall’s overall stability and appearance. Fine aggregate was added as needed to achieve a perfectly level base.
Building Additional Layers

With the first row complete, we began stacking additional rows. The blocks were staggered to create an interlocking pattern, with each block’s lip locking it into place with the row below. This design also naturally stepped the blocks slightly into the cutout dirt, increasing the wall’s strength.